>> The Challenge:
Have you ever wanted to mask out part of a drawing so you could put something in front of it? A bit of 3D cheating makes it easy to do so.
>> The Reality:
Here is a typical scenario. If you place text first and then hatch an area, the hatching will leave a blank quarantined area around the hatching to make the text easier to read.
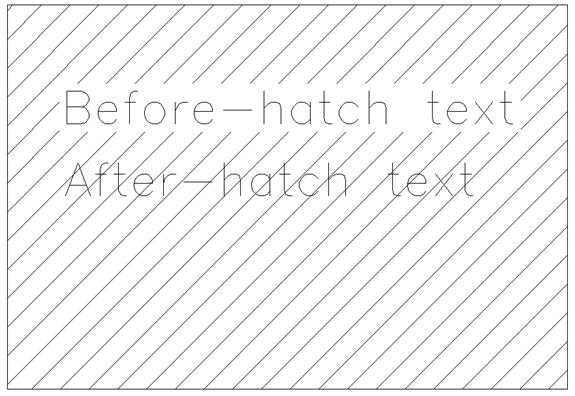
Unfortunately, this is not retroactive if you come back later and place more text within the hatching as shown in figure 1, nor does it apply to dimensions or to block insertions.

Figure 1: Text placed before hatching is masked; text placed after is not.
>> The Solution:
Fortunately this can be cured by using the Z axis, even though you are working in a 2D environment.
First, use the appropriate command to place text, or a block insertion, or any other type of object at a suitable location.
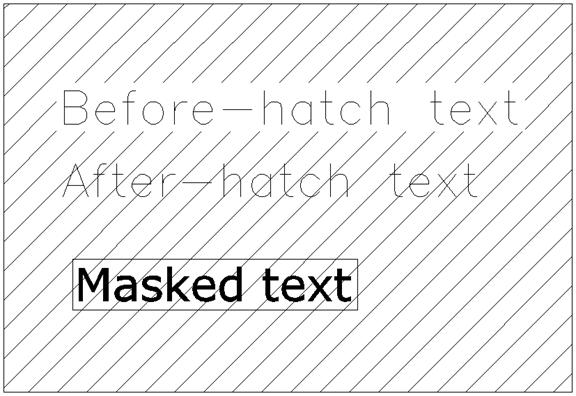
Next, use the undocumented 3DFace command. Pick four points to define the masked area surrounding the objects that you want to show within the masked area, and then press Enter to complete the command. Figure 2 shows the new masked text and the 3Dface object.

Figure 2: Place text within a hatched area, and then surround it with a 3dFace object.
Now comes the cunning bit. Use the EntProp command (Modify | Properties) to change the Z coordinate of the objects that you want to show within the masked area to have a value slightly larger than zero: 0.002 for example.
Use EntProp again to change the Z coordinate of the four corners of the 3DFace object to be slightly greater than zero but less than the value you used for the visible objects; 0.001 for example. If you do not want the masked area to have a border then you can also check the four Invisible Edges check boxes.
Now run the Hide command. This is undocumented, but is found under (View | Rendering | Hide).
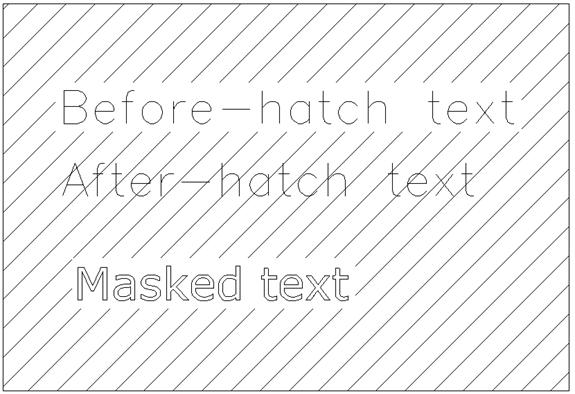
Presto! The borderless 3DFace hides everything behind it, but the objects you placed in front of (higher than) it are still visible.

Figure 3: Change elevations, hide the edges of the 3dFace, and then run the Hide command.
>> Tips:
- Regen unhides everything.
- Hide turns TrueType fonts into outlines, as shown in figure 3. SHX fonts are not affected.
- If you Plot right after using Hide then your plot will show the masked area.
- This technique applies to placing a mask over any type of object, and not just hatching.
- The 3DFace does not mask anything if the layer that it is on is frozen. If you put your 3DFace masks on a unique layer you can turn masking on or off as desired by freezing or thawing the layer.
>> Command Review:
3DFace
Command line: 3DFace
Entity Properties
Command line: entprop
Right-mouse click: Properties…
Menu: Modify > Properties…
Hide
Command line: Hide
Menu: View > Rendering > Hide
Regen

