1. Start a new drawing.
2. Insert Standard Solidworks Revision Table.
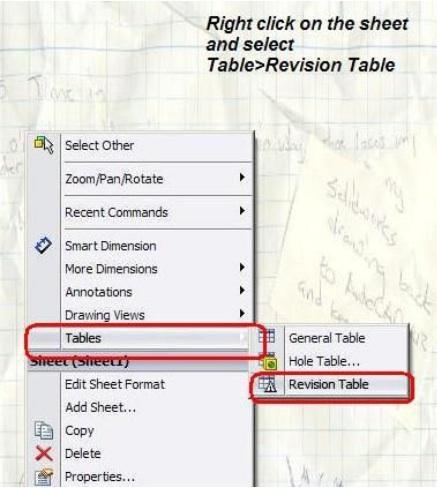
3. Standard Revision table can be found under C:\Program Files\SolidWorks\lang\English\
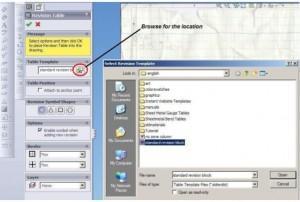
4. It will look similar to pic below.
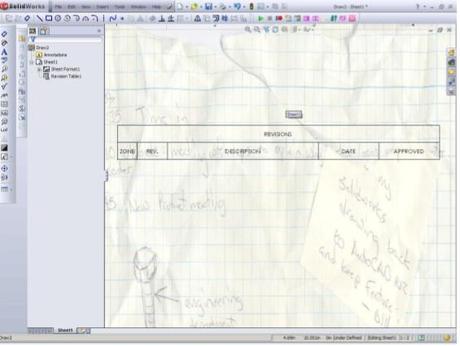
5. Click on the column as shown.
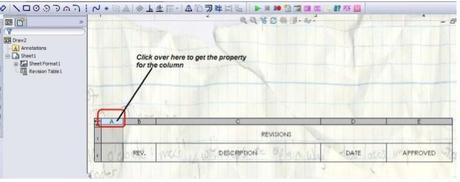
6. After selecting the column, you can see the property tab. You can select any of the listed property or select from the custom list.
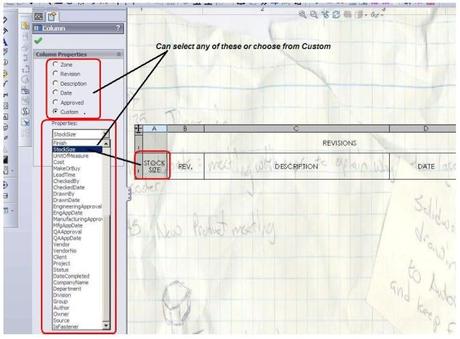
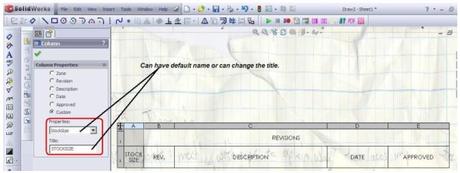
7. Select the column title or write your own title.
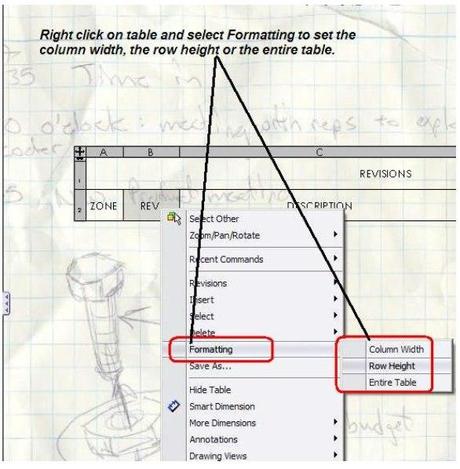
8. For changing the column width, row height or entire table, right click on the table and select from the options.
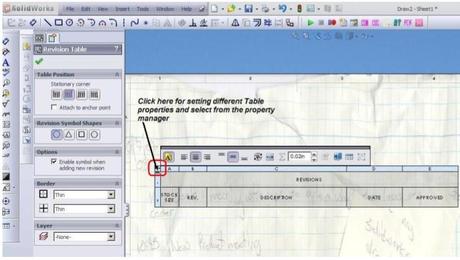
9. For setting other Table property, select the entire table and choose from the given options.
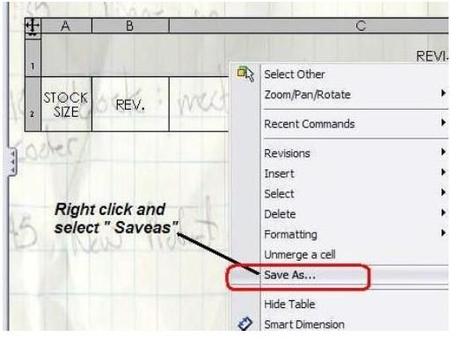
10. After you have done with the changes, right click on the table and select saves as.
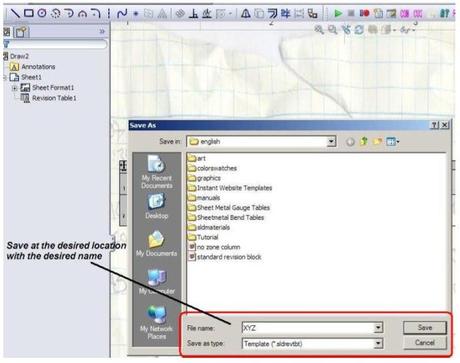
11. Save you custom Revision table with the required name at the appropriate
location.
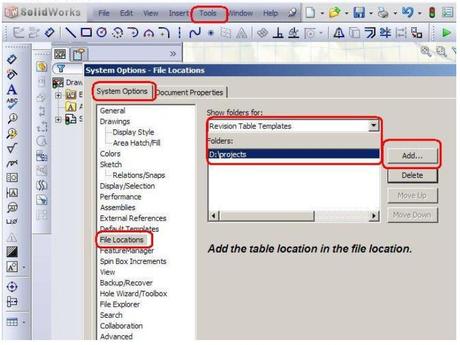
12. Add that location of the Custom Revision table in the file location. For this go to Tools> Options> System Options> File Locations> Revision Table template and add the location.
Deepak Gupta
http://gupta9665.wordpress.com


This post was submitted by Deepak Gupta.

